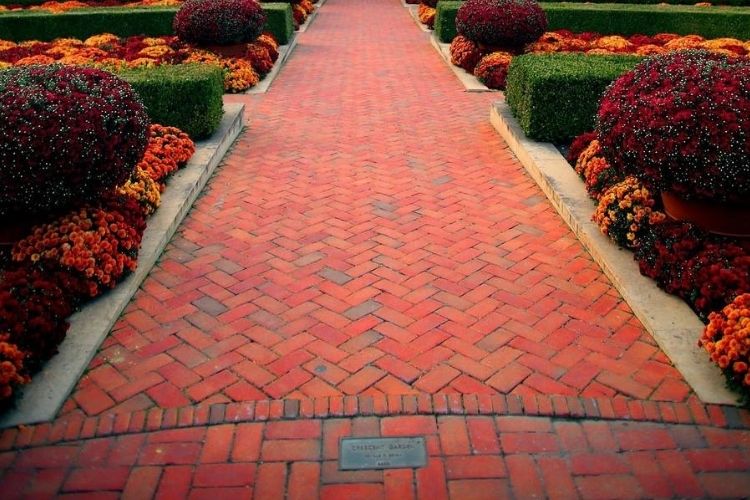
Brick has traditionally been considered a building material used in the construction of walls, fences and barriers. However, its capabilities are much wider. One popular application is paving paths. For those who are not afraid to try their hand at new types of work, it will be useful to learn how to make a garden path out of bricks. Moreover, there is nothing super complicated in performing such an operation independently.
Preparation of tools and materials
In order for the work to be successful, and the result to please for many years, it is important to have a set of the necessary tools at hand. As for the materials, they usually take old bricks or those that remained after the completion of construction on the site.
What tools are needed for paving
To complete the work, you will need the following set of tools:

- vibratory plate;


- rule;

- thin cord;
- metal or wooden stakes.
To facilitate work, the manual rammer can be replaced with an electric or gasoline rammer.
Materials required for work
The work will need the following list of materials:
- brick;
- sand;
- cement;
- gravel;
- geotextile.
In most cases, the remains of the stone after construction are used to pave the garden path. Also good at work is the old brick, obtained during the dismantling of buildings erected in the first half of the 20th century or even earlier. By the way, it is not necessary to use whole stones. Paths in the country and from broken bricks will look good. Elements of different sizes will add a special charm to the finished product. And if these are old stones that differ in color, then this will make your paths unlike any others.
The sequence of actions during construction
You need to start by planning the future track. If no intensive movement of people is expected, then a width of 80–100 cm will be sufficient. Be sure to pay attention to the proximity of large trees. The distance to them should be at least 60–70 cm. Otherwise, the powerful roots of a growing tree can destroy the path. It is best to plan future walking routes before fertile soil is introduced to the site. This will reduce the amount of earthwork.
For ease of operation, the contour of the future track is indicated with stakes and a stretched cord. It is advisable to repeat its shape as accurately as possible. After that, a shovel removes a layer of earth within the area limited by the cords. The thickness of the removed layer depends on how the bricks will be laid – flat or rounded, and the thickness of the gravel-sand substrate.
Then a layer of gravel is poured into the prepared bed. It will act as a drain. After laying and leveling, the gravel is tamped. The next layer is laid with a geotextile cloth. This material will allow water to seep down without problems, and for germinating weeds, it will become an insurmountable obstacle.
The next step is to install the curb. It will fix the stones, prevent them from creeping to the side under the influence of mechanical influences and natural precipitation. The functions of the curb can be performed by the same brick installed on the edge, or a traditional curb stone. Wooden boards, fixed with stakes, can become temporary bumpers. Instead, it will be possible to pour a concrete curb later.
Next, clean sand or a cement-sand mixture is poured over the geotextile. The proportion of 1: 5 will be enough. The resulting layer is aligned with the rule. This tool will allow you to make the surface not only flat, but also tamp it a little.
Laying the finishing coating
Laying is done with a rubber (rubberized) mallet. Each brick is gently tapped to the base. During the laying process, the plane is continuously monitored. It is important to remember about a slight slope to one of the edges for rain and melt water to drain. Adjacent bricks should have a small gap of 1–3 millimeters.
For the final fixation of individual elements, the track is covered with a cement-sand mixture and swept with a brush. The mixture enters the cracks, fills them and fixes the bricks. To be sure, this operation can be repeated several times.
To prevent the water flowing from the surface of the path from forming puddles, a drainage channel is broken along the lower edge. Through it, water will be discharged to a predetermined place.
As you can see, there is nothing complicated in this work. But it’s not for nothing that they say that a professional can handle any job better. Therefore, it is better to entrust the pedestrian recreation area at your dacha to specialists.
